Preparing your sticker surface
It’s all in the prep!
And no, we’re not talking about painting here – but the saying equally applies to prepping surfaces prior to applying your stickers.
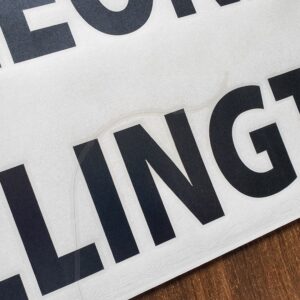
Before you apply your stickers you need to properly prepare your surface. Good sticker prep makes all the difference to how your stickers will look once applied. This means giving it a good clean to remove any moisture, dirt, dust, fluff and HAIR! Hair annoyingly seems to turn up everywhere, and can quickly get in the way of your sticker, as you can see on this sticker pictured above.
How to prepare your sticker surface
We use a good quality surface cleaner (Avery Dennison) before applying our stickers to give us the best result. Spray on the cleaner and leave it to sit a few minutes so it can work its magic. This is especially important if there are any stubborn spots of grime or blobs of old glue on the surface.
Any minor imperfection on or within the surface will show through the stickers, causing air bubbles, bumps, wrinkles or indentations. You might think a bit of dust or grit won’t matter, but trust us when we say it does!
The smallest blemish really does show through and will impact on the final finish of the product. So, do your stickers the justice they deserve and prep your surface well!
We hope this helps you achieve the best looking stickers to showcase your designs. If you need any other help check out our FAQS page of head over to our YouTube channel for more tips and tricks.