Adobe Illustrator tips for Sticker printing - Offset paths for kiss cutting and die cut stickers part 2

Preparing art files for kiss cutting and die cut stickers
We love adobe illustrator – it allows us to print the best quality stickers for you. We also love kiss cut and die cut stickers – these always look bomb!
In the last tutorial we showed you how to set up an offset path to give your sticker image an even border, filled with a color. In this tutorial, we will build on this and show you how to set this up for kiss cutting your stickers. If you haven’t run through the first tutorial, then click here – offset paths for sticker printing part 1. Kiss cutting stickers is when we run a knife around a shape to release your sticker – ie into a custom shape rather than a straight rectangle. This gives your sticker a lot more character – which in our experience means that is it way more likely to get used than if it is just a straight square.
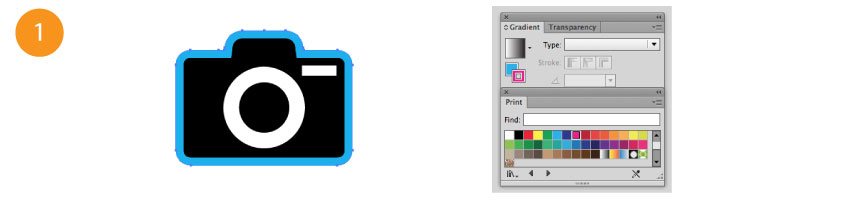
Step 1
Select the offset path that you created, and in the gradient panel select the outline box. Click magenta in the color swatch.
Step 2
With the path still selected, click on the fill box in the gradient pallete. Clear it in the color pallete so there is no fill.

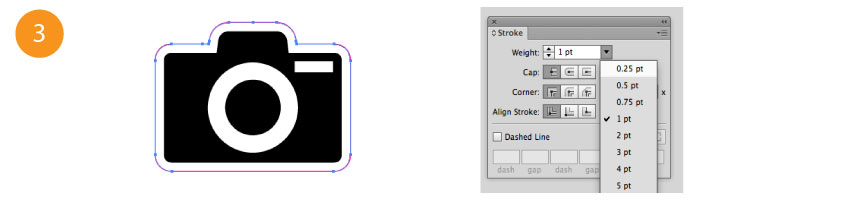
Step 3
With the path still selected, click on the stroke pallete, and change the stroke weight to .25pt.
Step 4
Label the pink line as cut path within the file with a text box and a key.

If you have any questions about how to do this or need any other help check our FAQs page or get in touch and we’ll help you out.